How to setup SSO for Okta
Last updated: June 23, 2026
This guide covers the steps to setup SSO for Okta.
Before you begin
Initiate SSO Setup: Go to app.fireflies.ai/auth/sso and enter your email. This will send you an email with detailed setup instructions.
Verify Your Domain: Ensure your domain is verified before proceeding with the configuration. You will need admin access to complete this step.
Access the SSO Configuration Link: In the email you receive, click on the button with the unique link. This will direct you to the SSO configuration page.
Step 1: Create a SAML Application in Okta
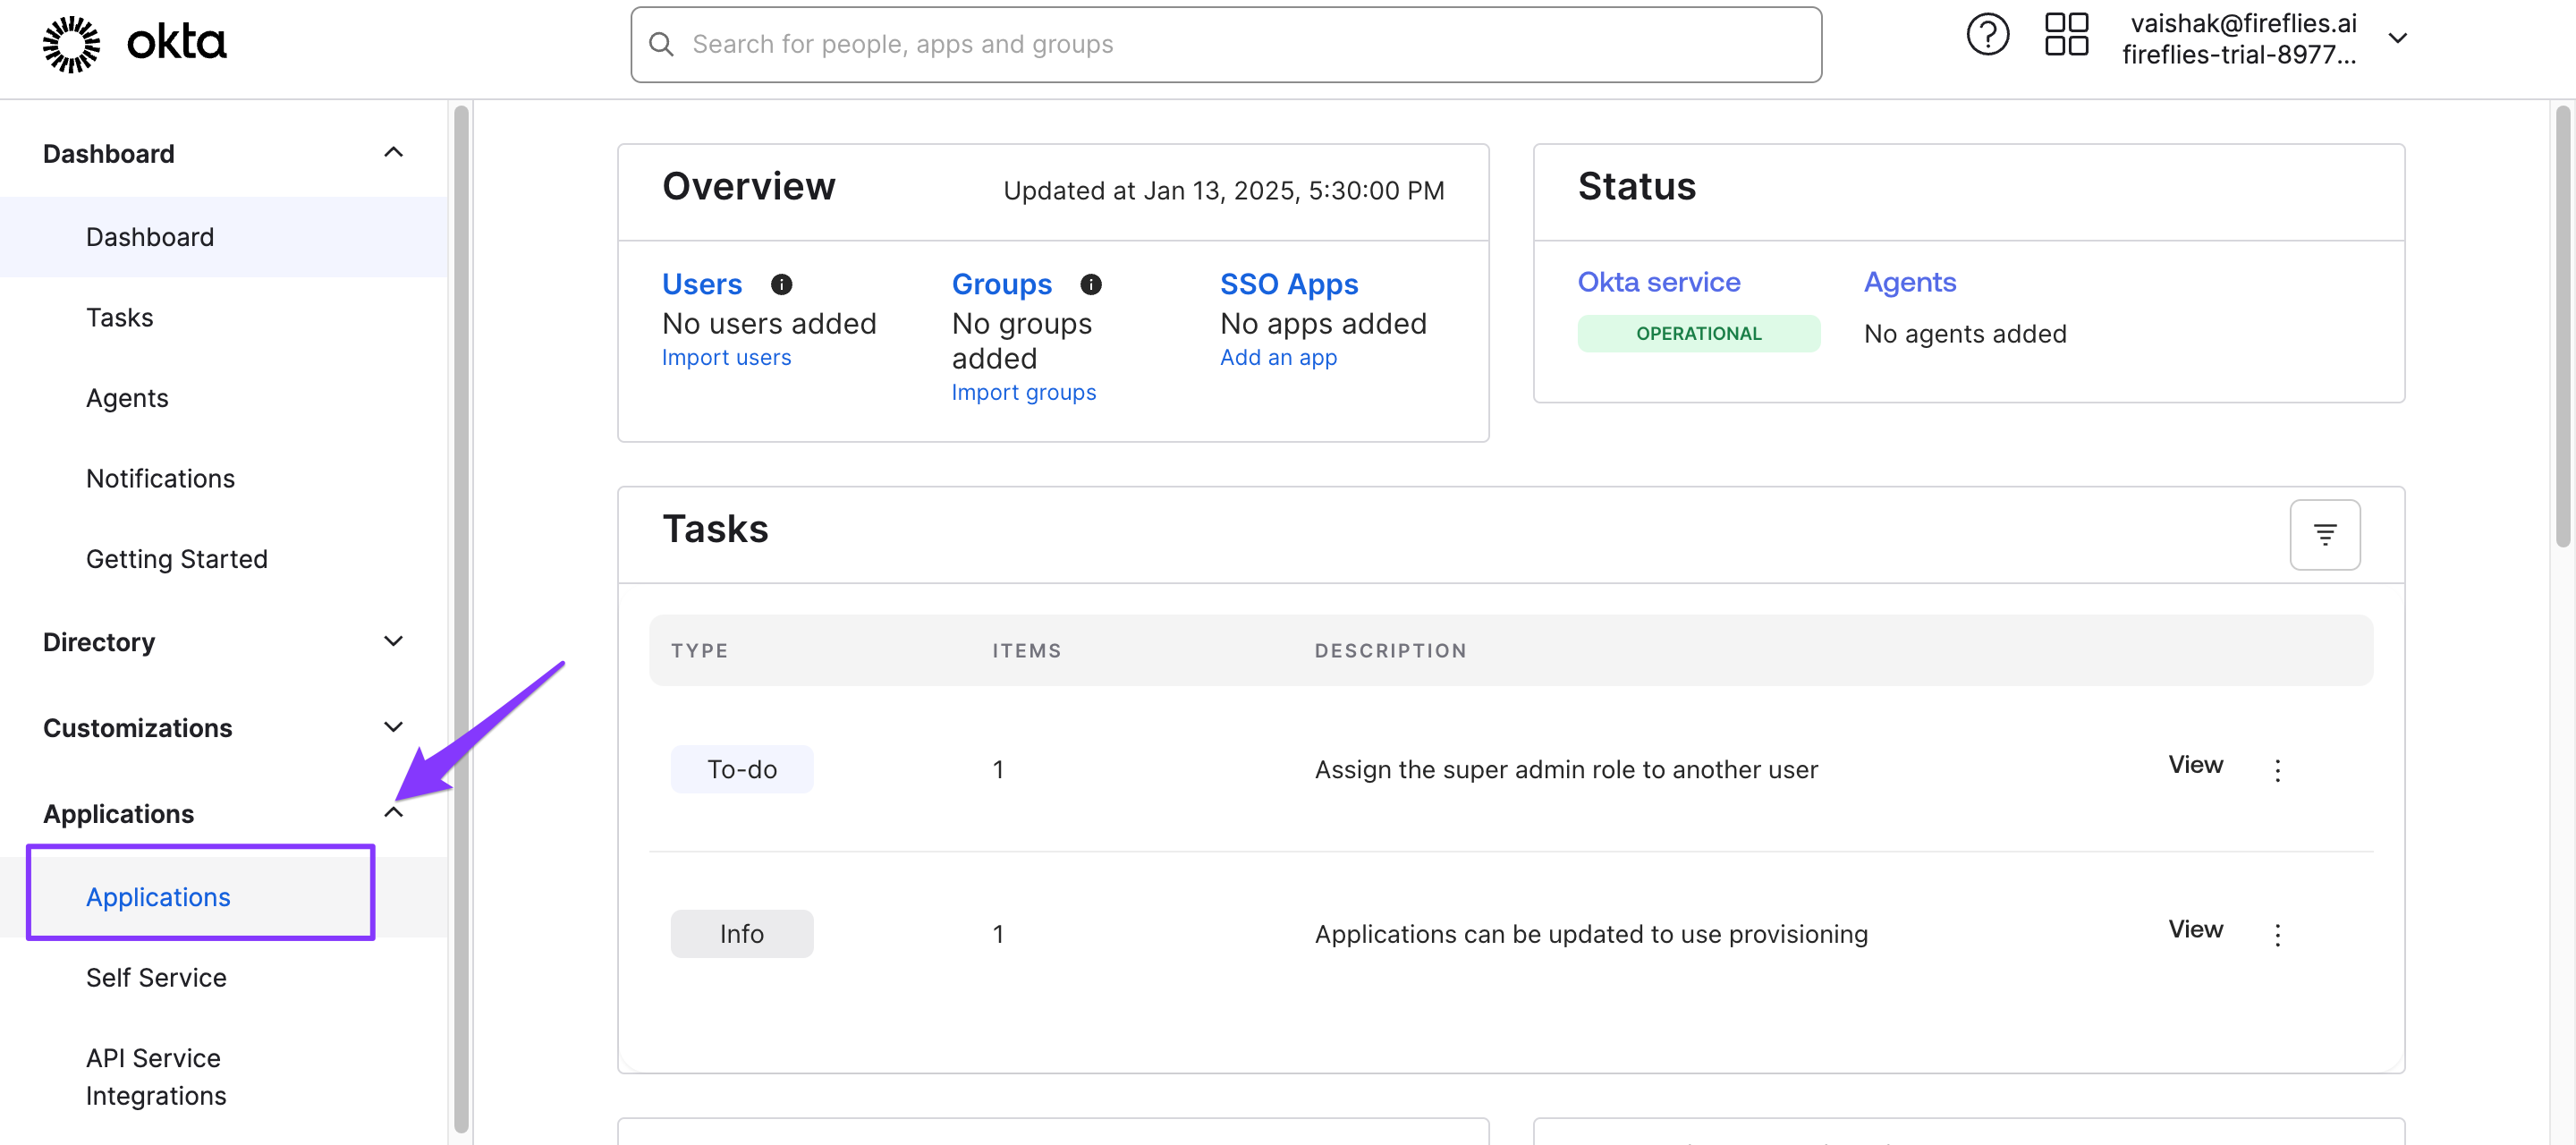
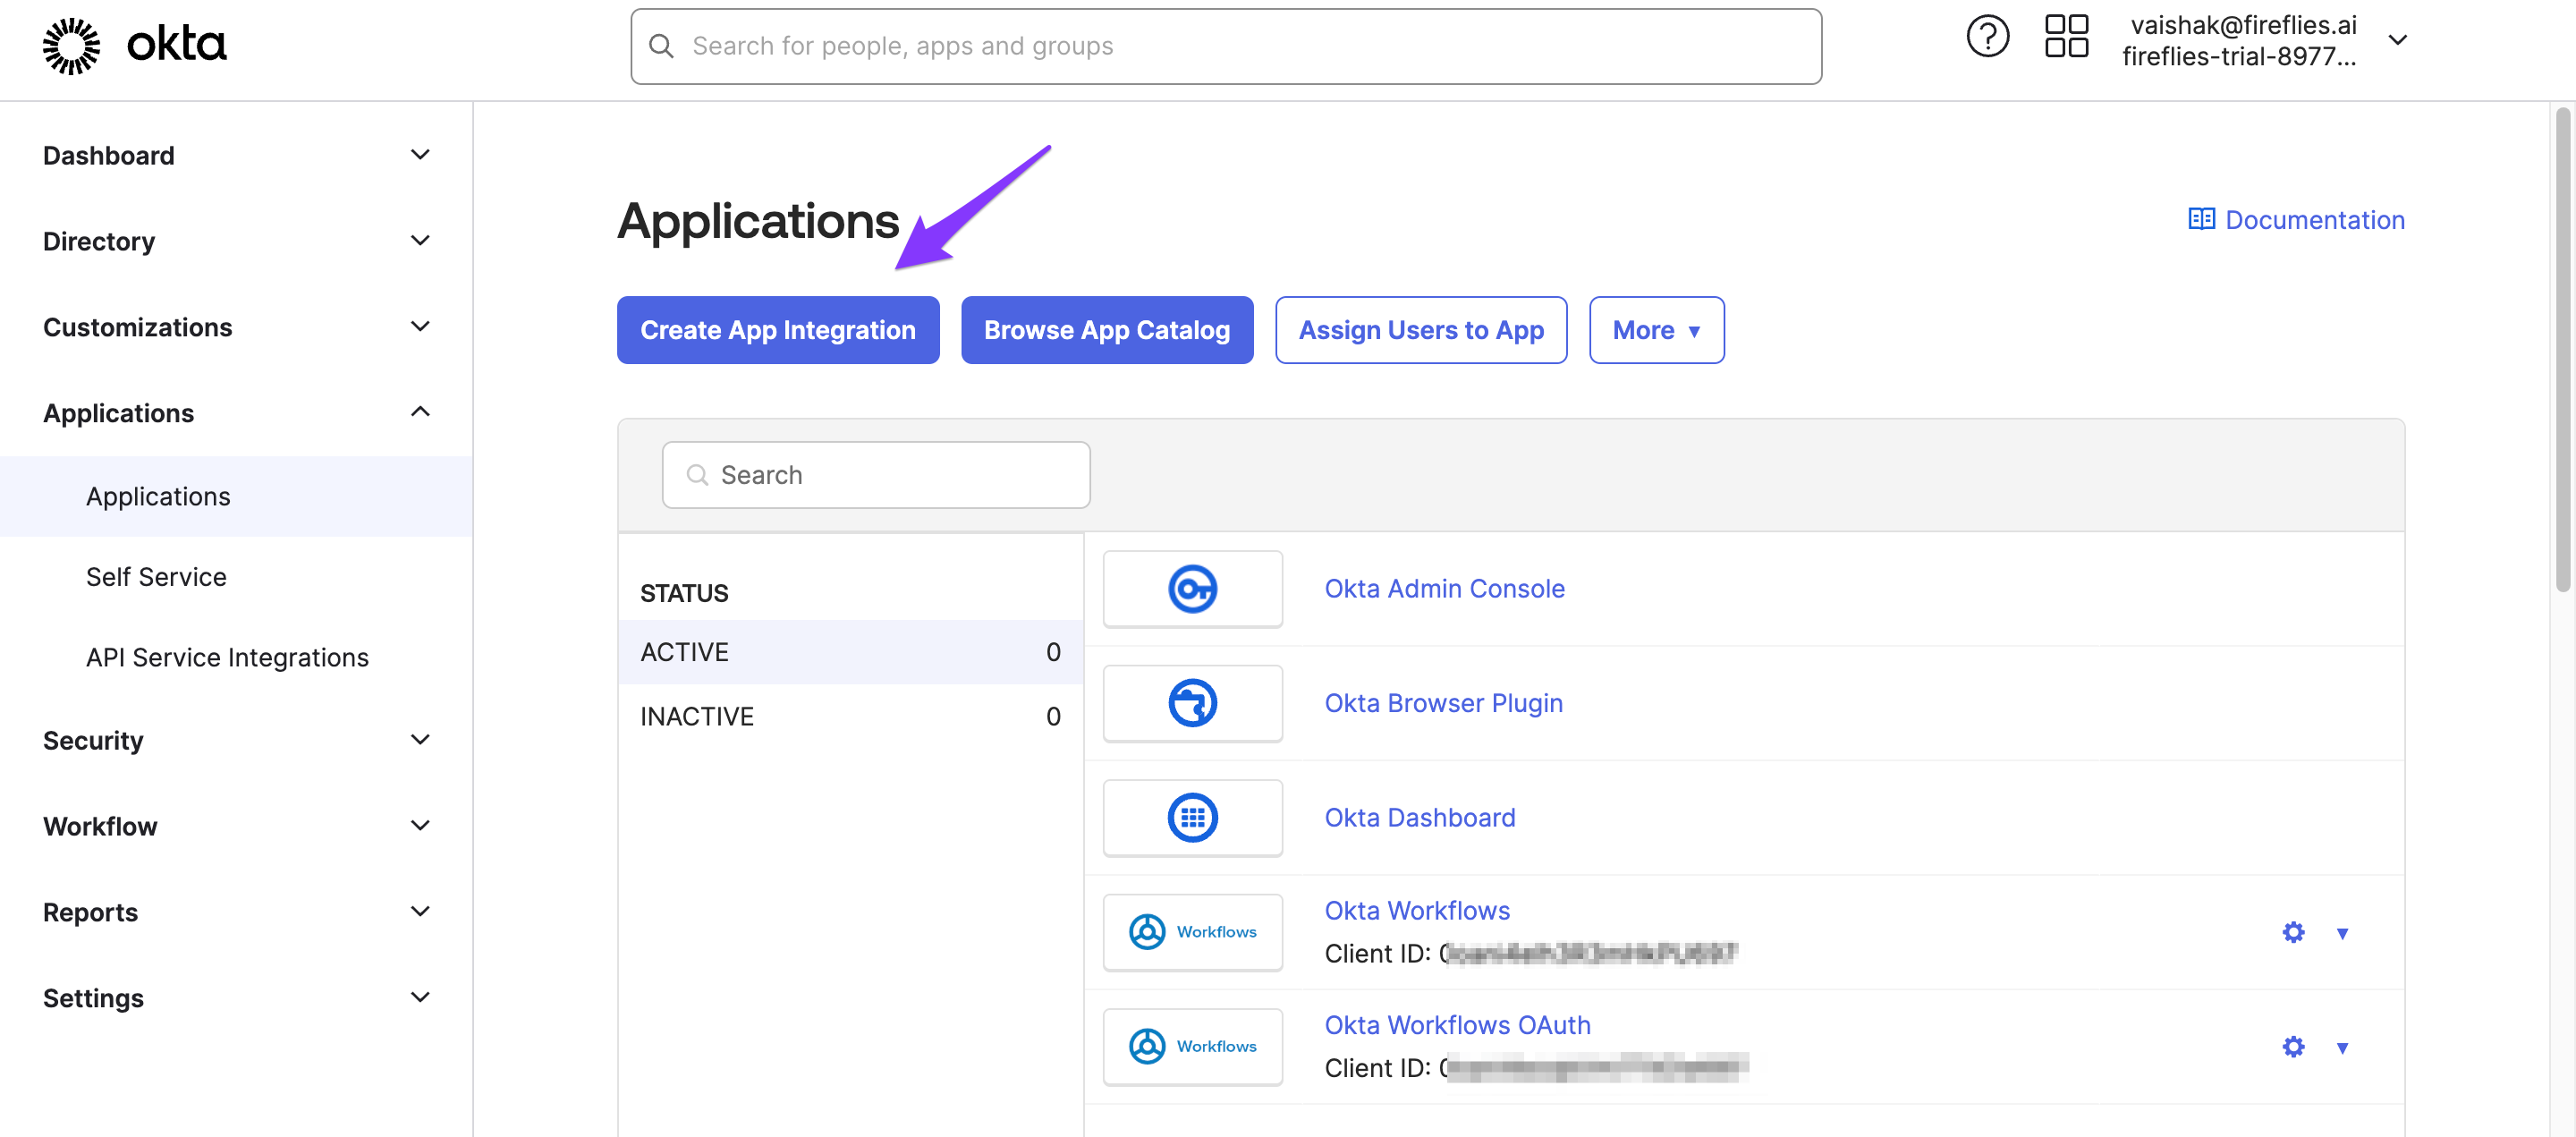
1. Sign in to Okta dashboard. Go to Applications and select Applications.
2. Click Create App Integration.
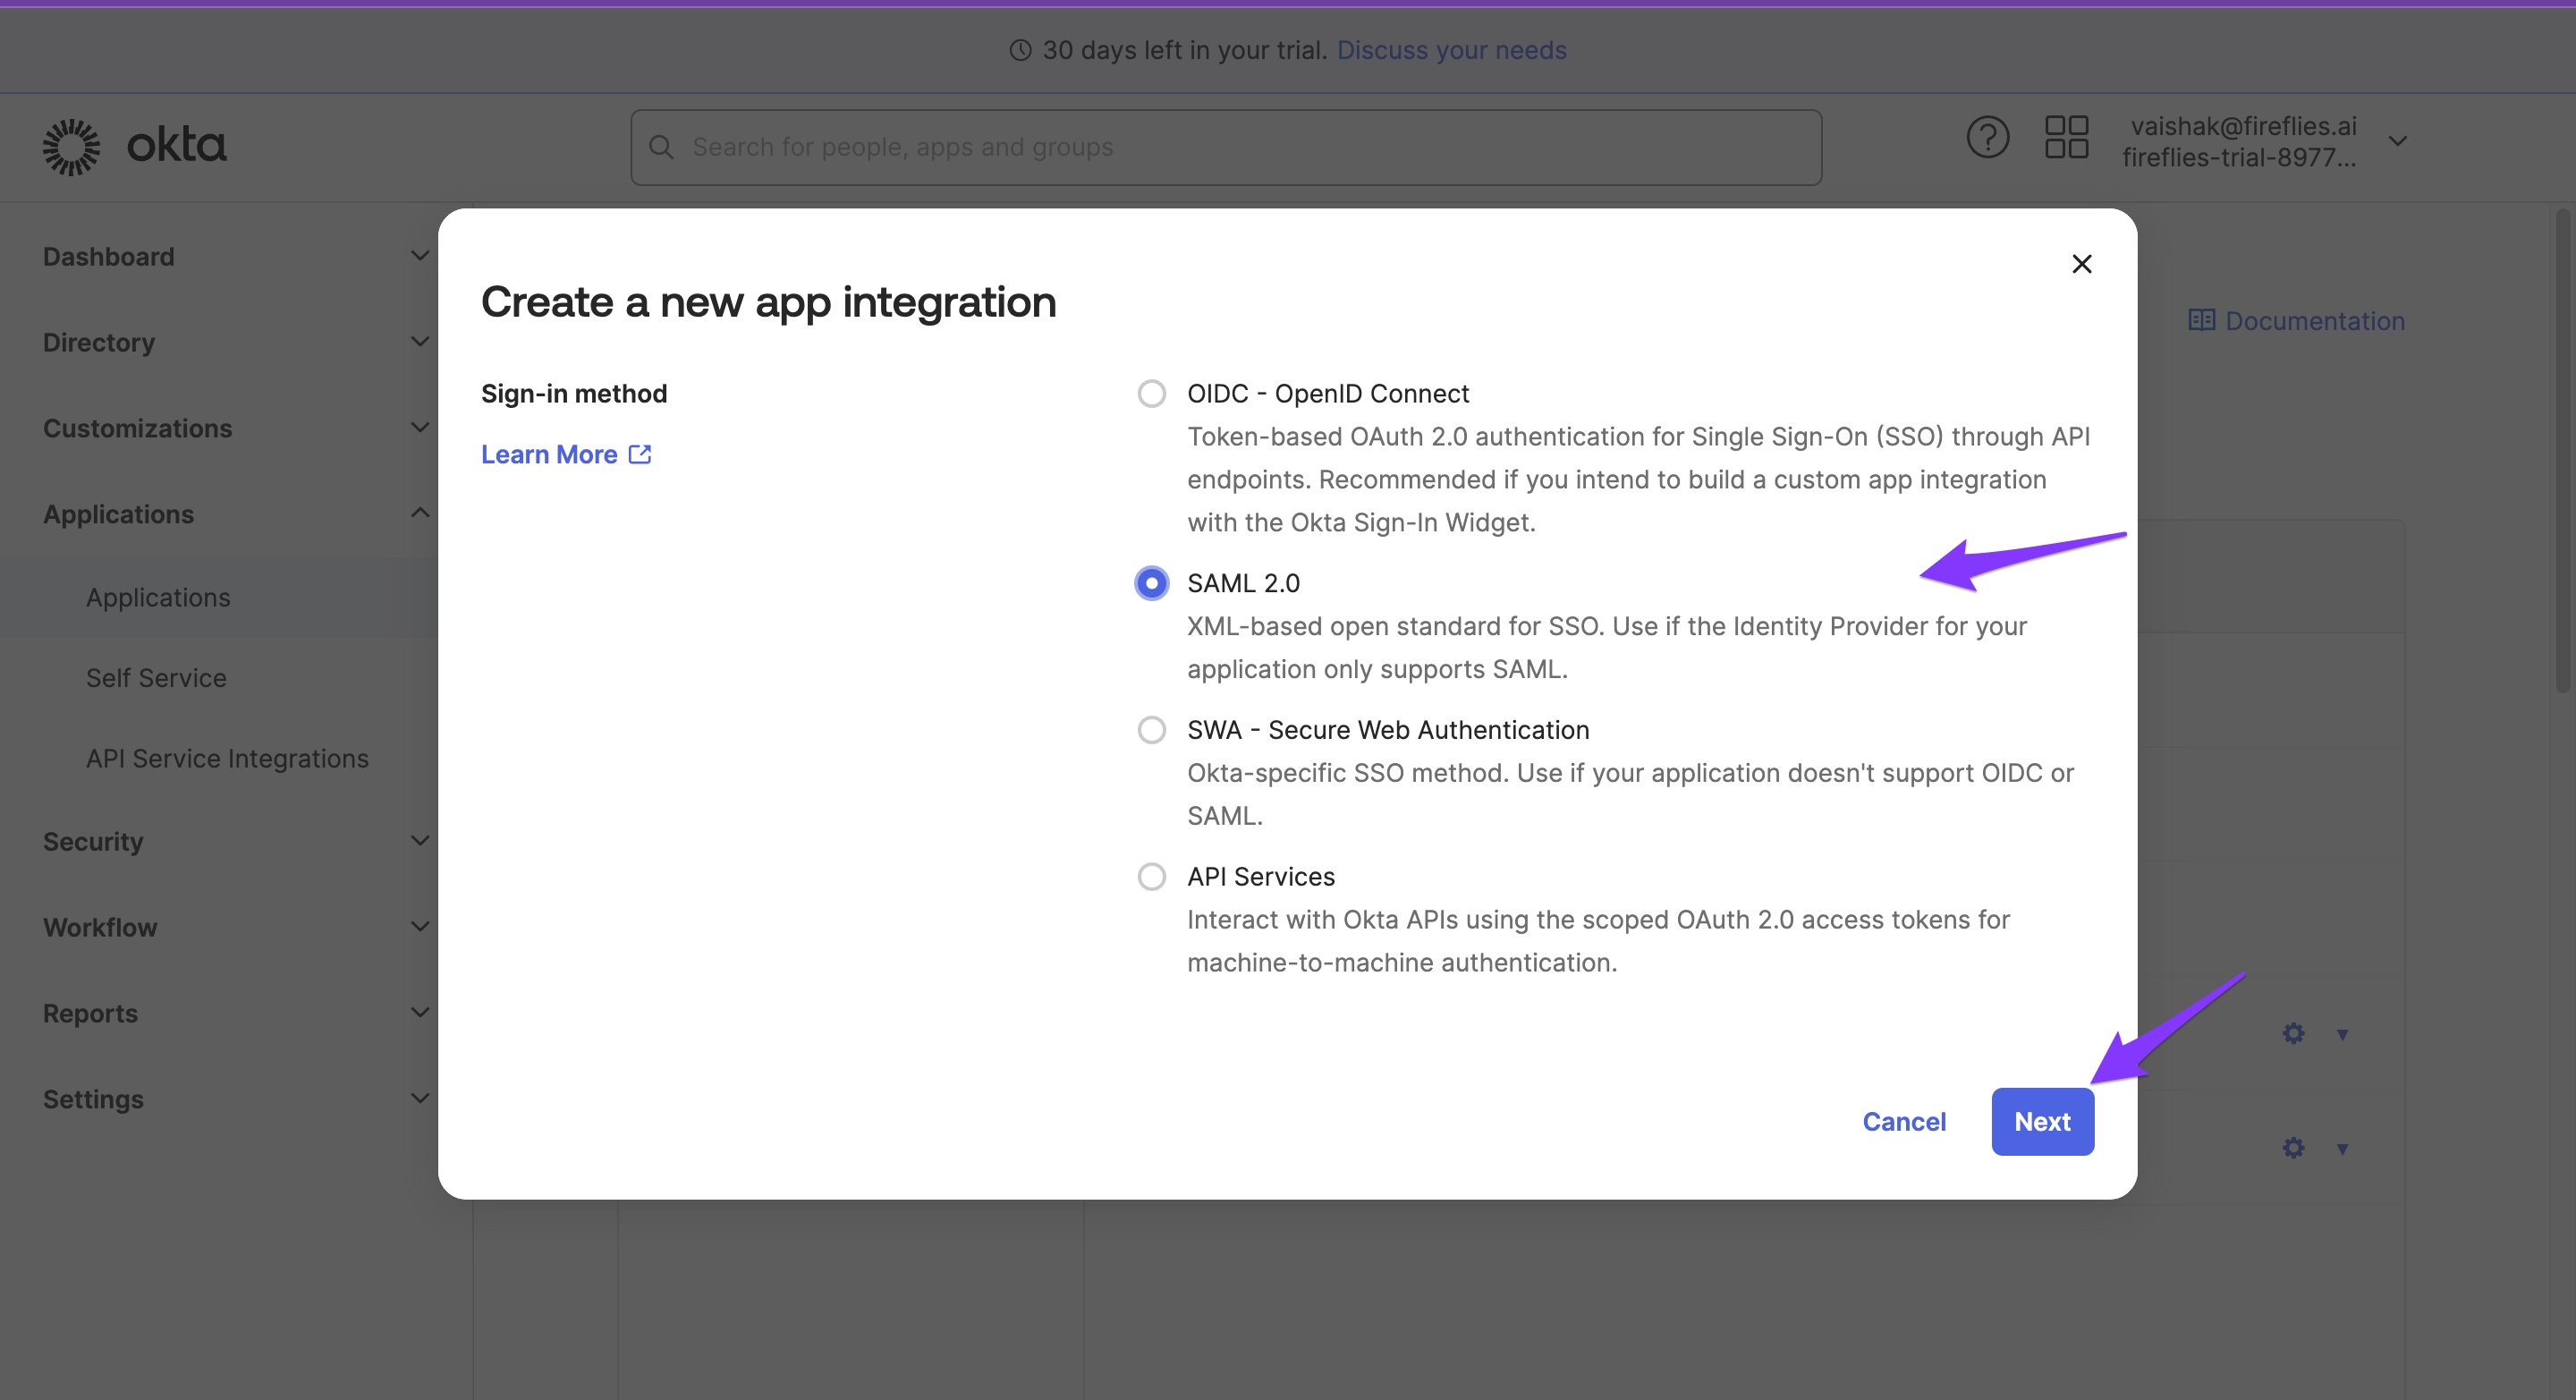
3. Select SAML 2.0 and click Next.
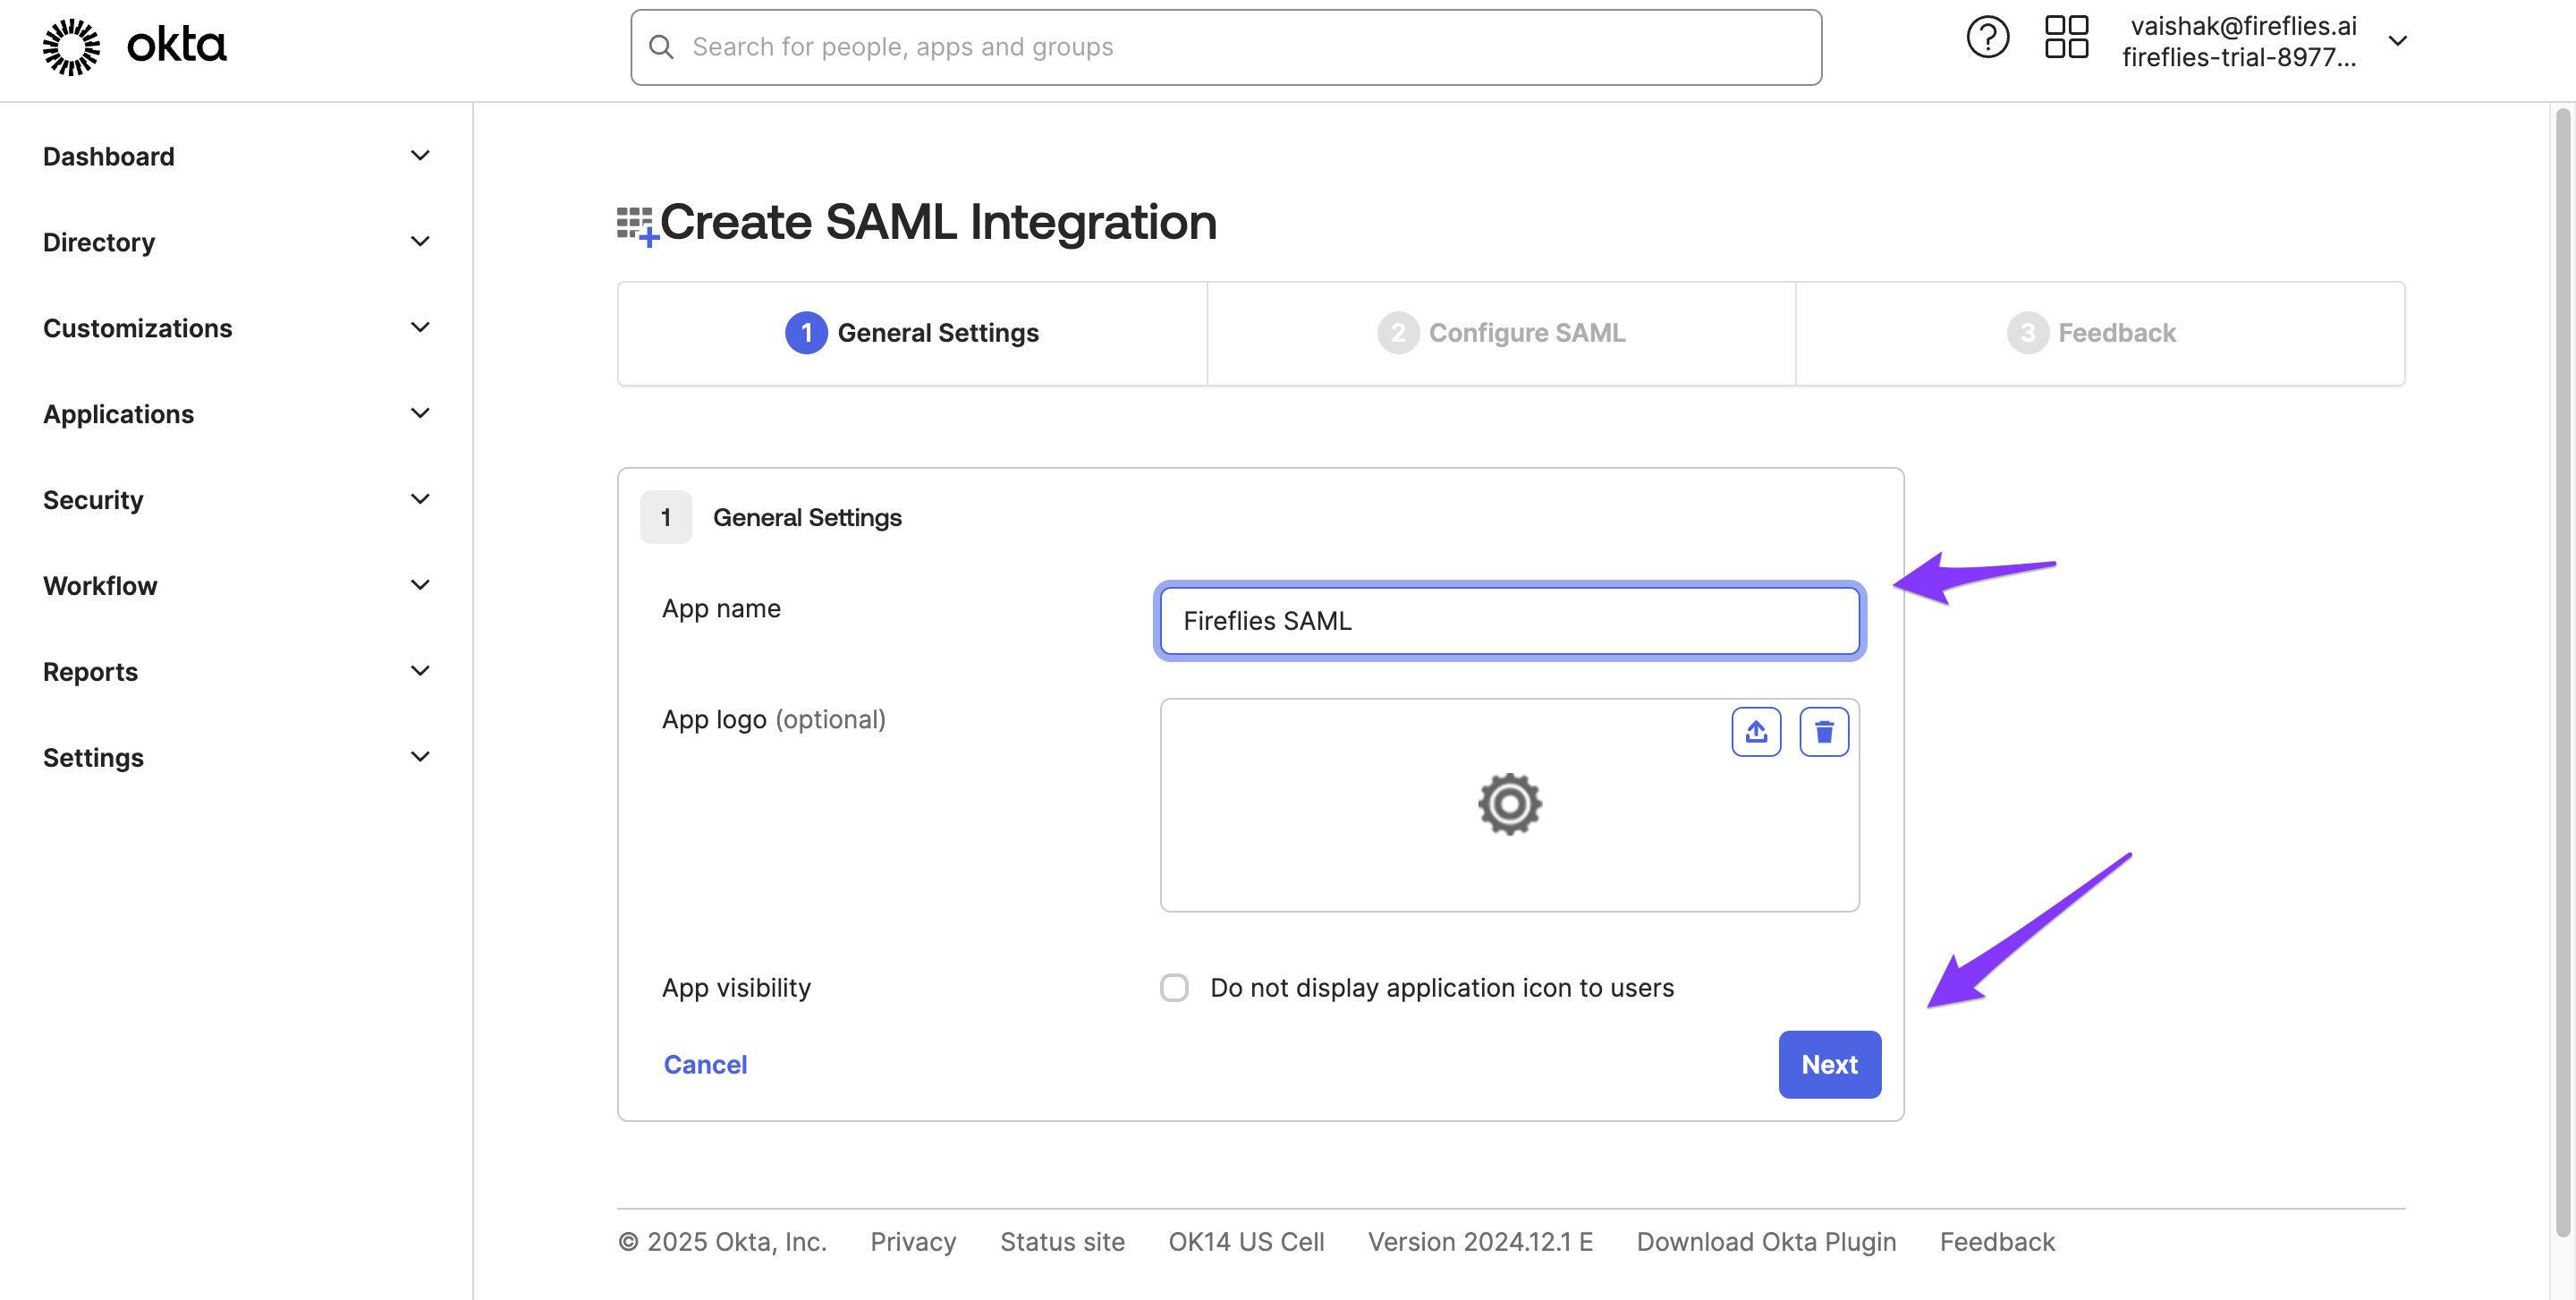
4. Create the application, name it Fireflies.ai SAML Application and click Next.
Step 2: Configure SAML Settings
On the Configure SAML screen, fill in the following fields:
Field | Value |
Single sign-on URL |
|
Use this for Recipient URL and Destination URL | ✅ Checked (Please ensure that the checkbox to use this as the recipient and destination URL should be checked.) |
Audience URI (SP Entity ID) |
|

Audience Restriction must be entered as fireflies.ai in lowercase, given the SAML protocol is case-sensitive for audience validation
Step 3: Configure Name ID and Attribute Statements
⚠ This is one of the most commonly misconfigured parts of the Okta setup. Fireflies requires the user's email address during authentication. If the email address is not passed correctly, users may experience sign-in or account-matching issues.
Fireflies requires the user's email address during authentication. You can provide this either through the Name ID configuration or through an email attribute assertion. Choose either method below.
Option A: Set Application Username to Email (Recommended)
Click the Name ID format dropdown and select
EmailAddress.
Click the Application username dropdown and select
Email.
This maps the Name ID directly to the user's email address. No additional attribute statements are needed for login.
Option B: Keep Default Name ID and Add an Email Assertion
If you prefer not to change the Name ID format, you can pass the email address as a separate attribute statement instead. Fireflies will read the email from this assertion.
To add an attribute statement:
Scroll down to the Attribute Statements section.
Click Add expression.

Enter
emailin the Name field anduser.profile.emailin the Expression field.
Click Save.

You will see the
emailassertion added to the Attribute Statements list.
Scroll up to confirm your settings appear as follows:
Name ID format →
Unspecified(leave as default - do not change)Application username →
CustomApplication username value →
user.email
The email attribute assertion (email → user.profile.email) created in the previous step will be used by Fireflies to identify the user.
💡 Tip: Either Option A or Option B will work for SSO login. If you are unsure which to use, Option A is the simpler choice.
If your organization requires sending additional user information, such as the user's display name, you can add extra attribute statements using the Add expression button. For example, adding
firstNamemapped touser.profile.firstNamewill display the user's name correctly within Fireflies.
Step 4: Finish the App Setup
On the final screen:
Under App type, select This is an internal app that we have created.
Under Contact app vendor, check It's required to contact the vendor to enable SAML.
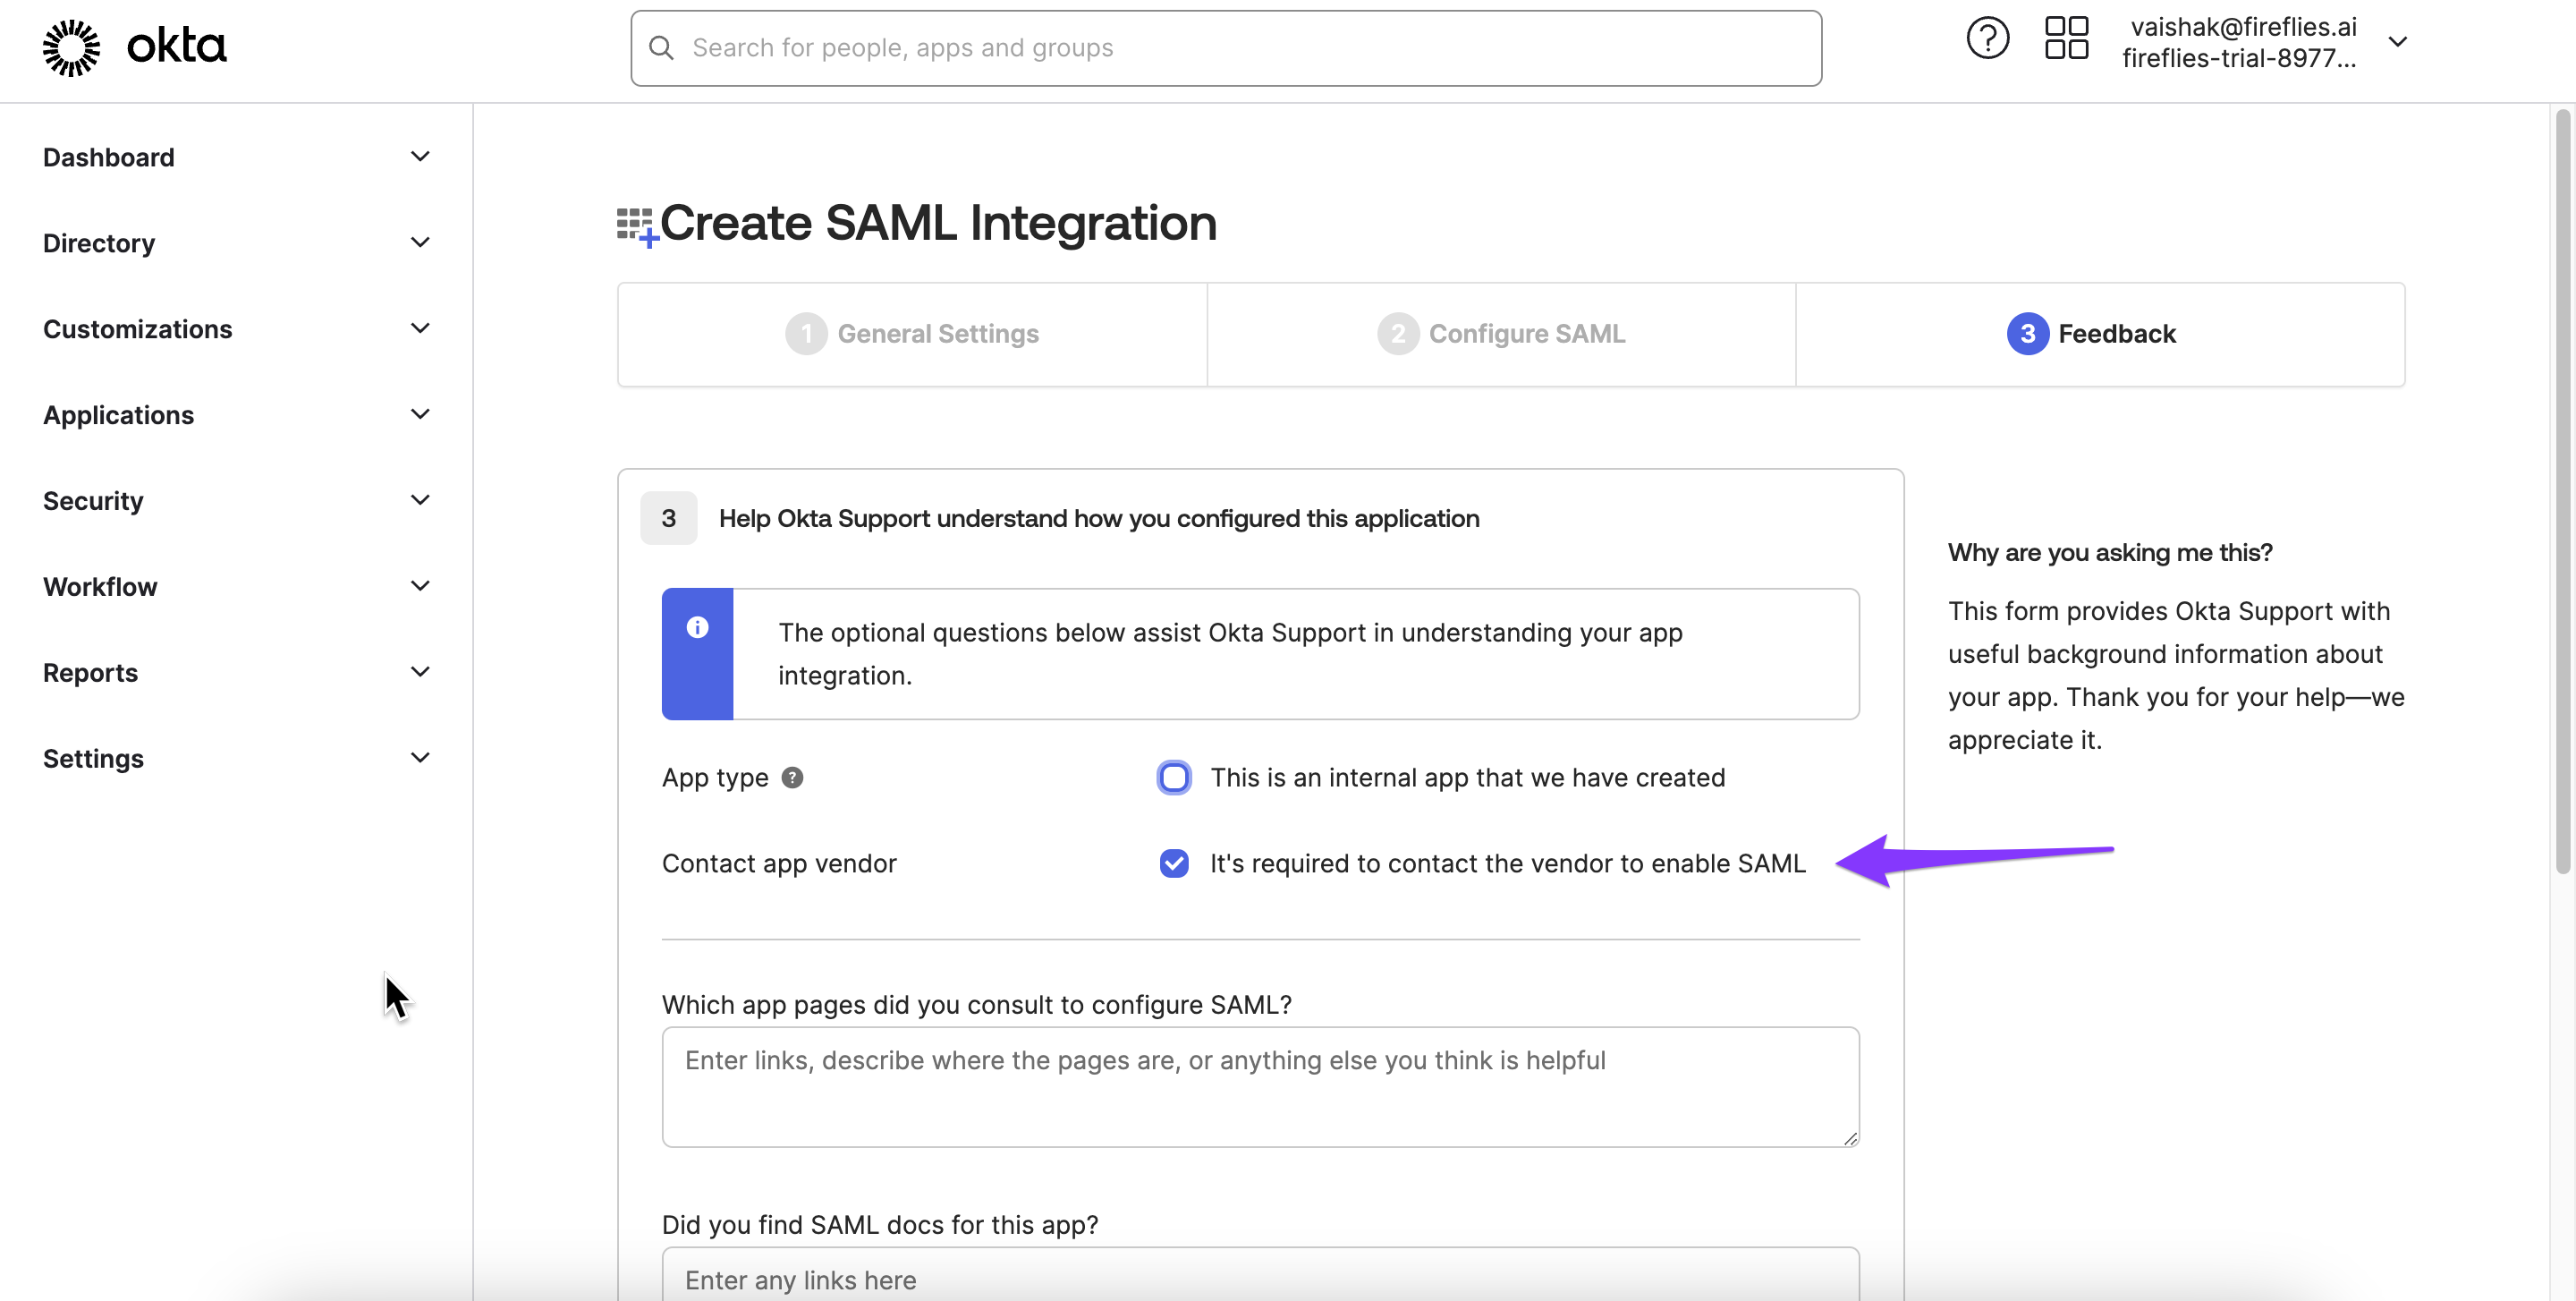
Click Finish.

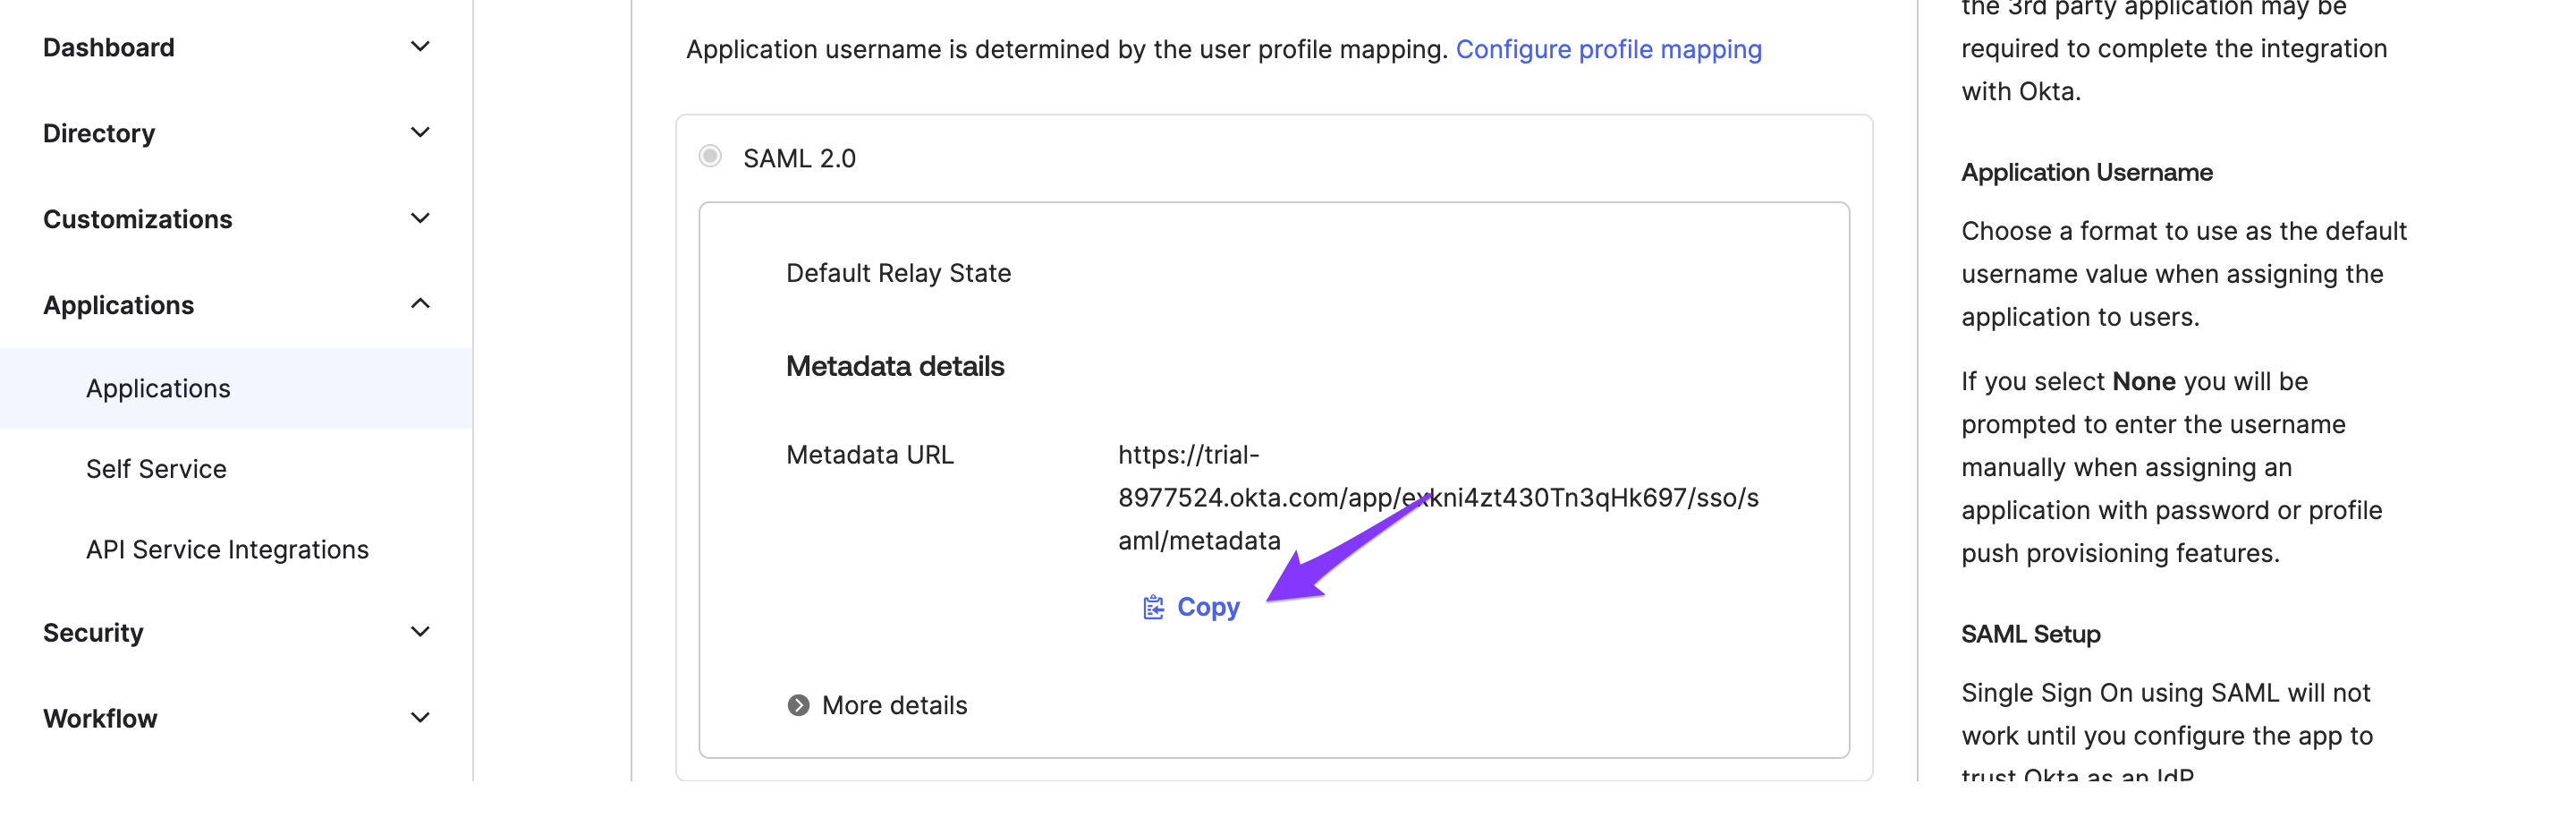
Step 5: Obtain Metadata Link & Certificate
Once this is done and saved, copy the Meta Data Link and use it as the Single Sign-on URL in the next step.
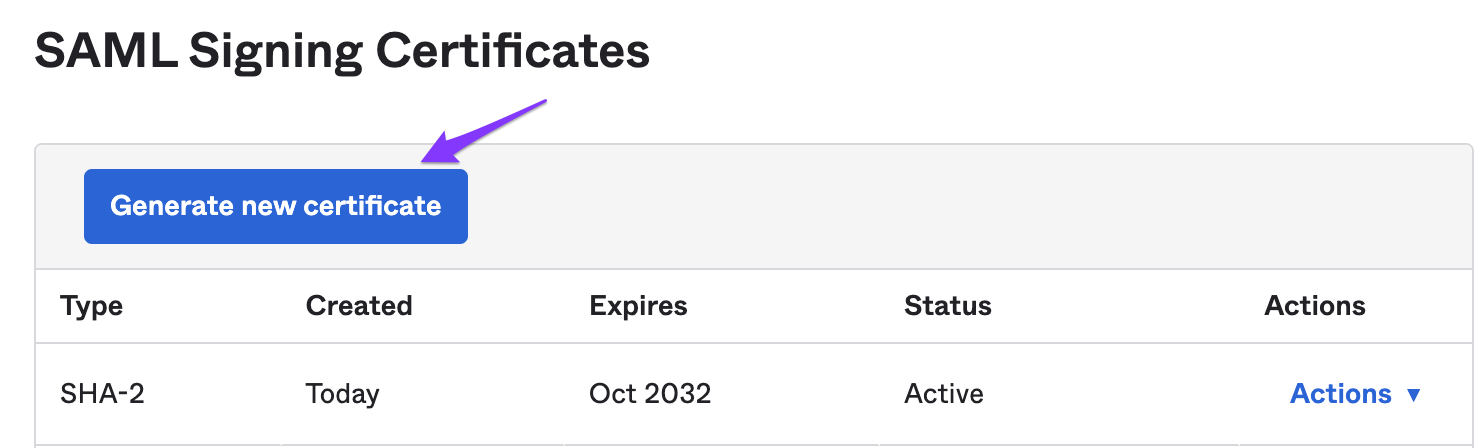
From your OKTA dashboard, scroll down to the SAML Certificate section. Click Generate new certificate.
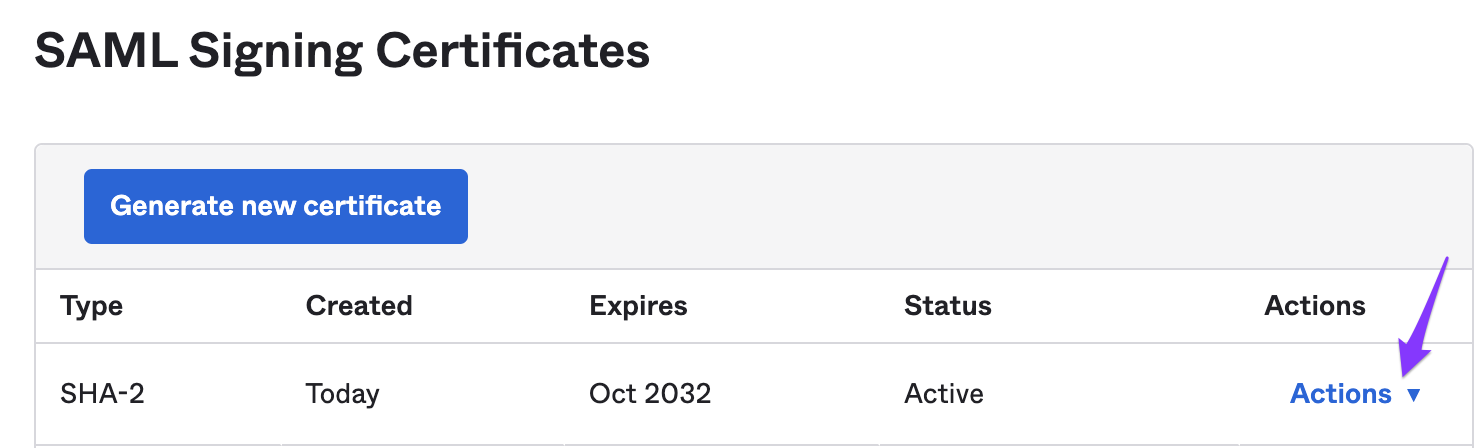
Click on Actions and select the Download Certificate option.
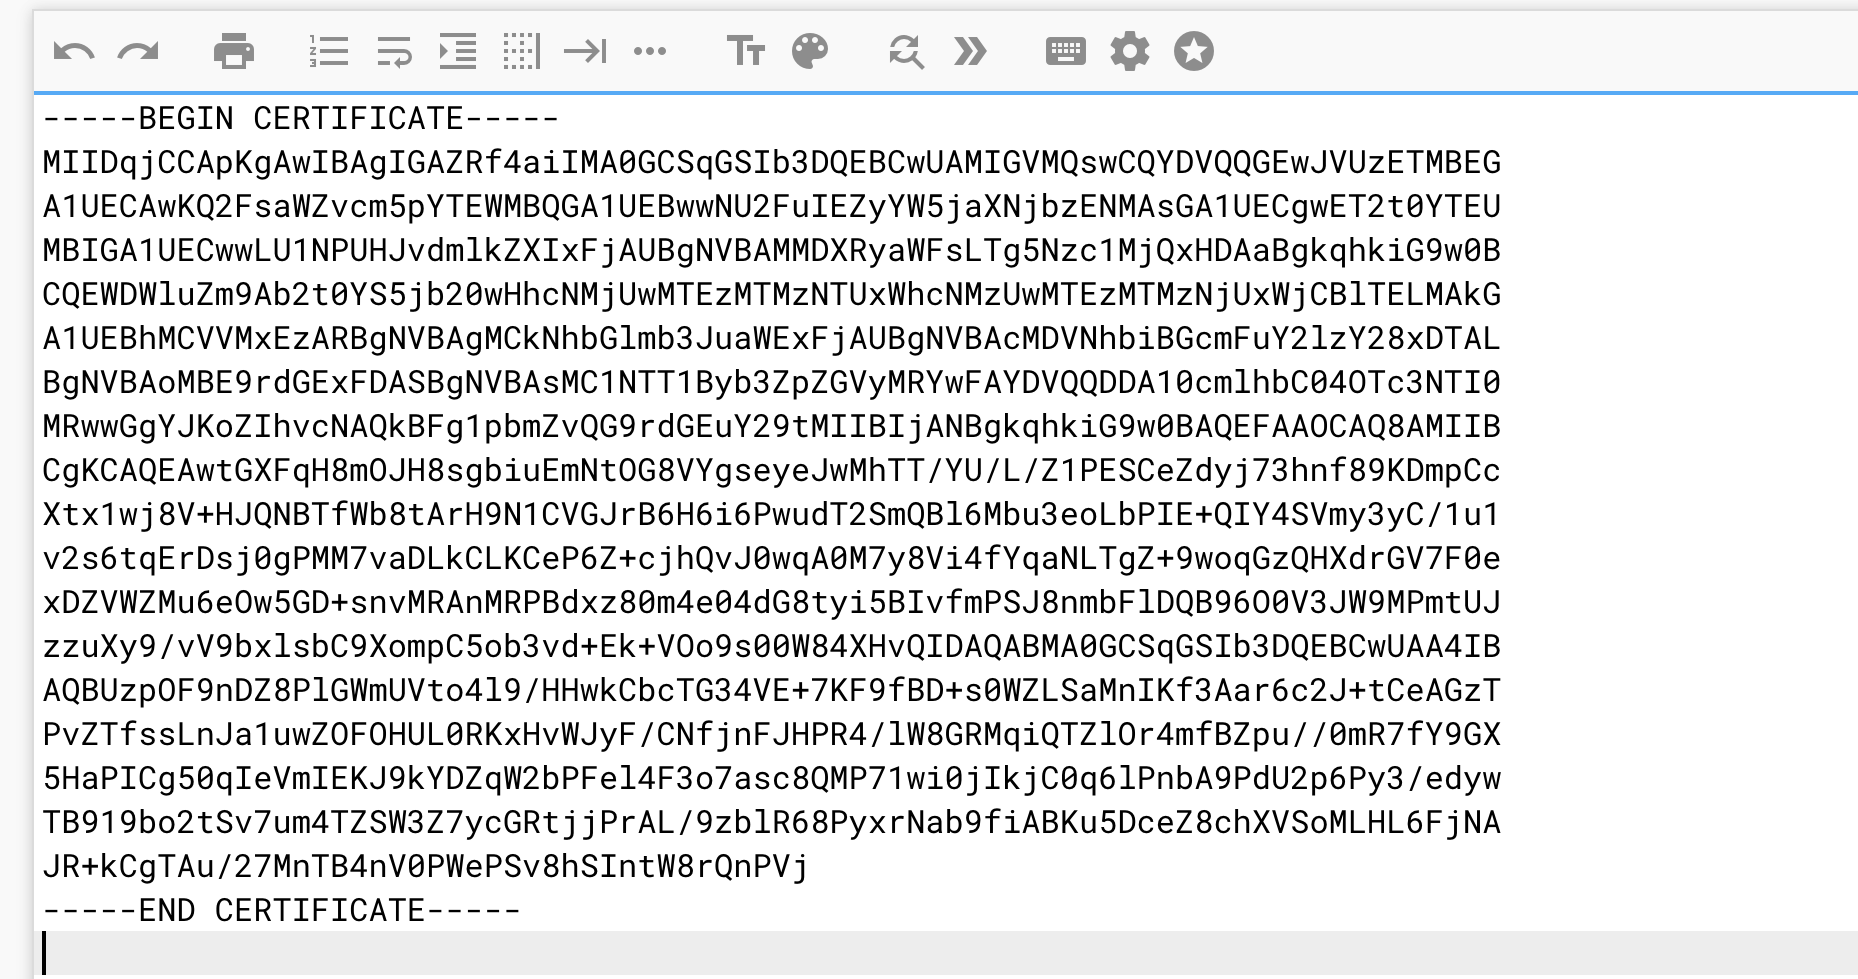
Open the certificate using a Notepad or any Text Editor. You will see the X509 certificate.
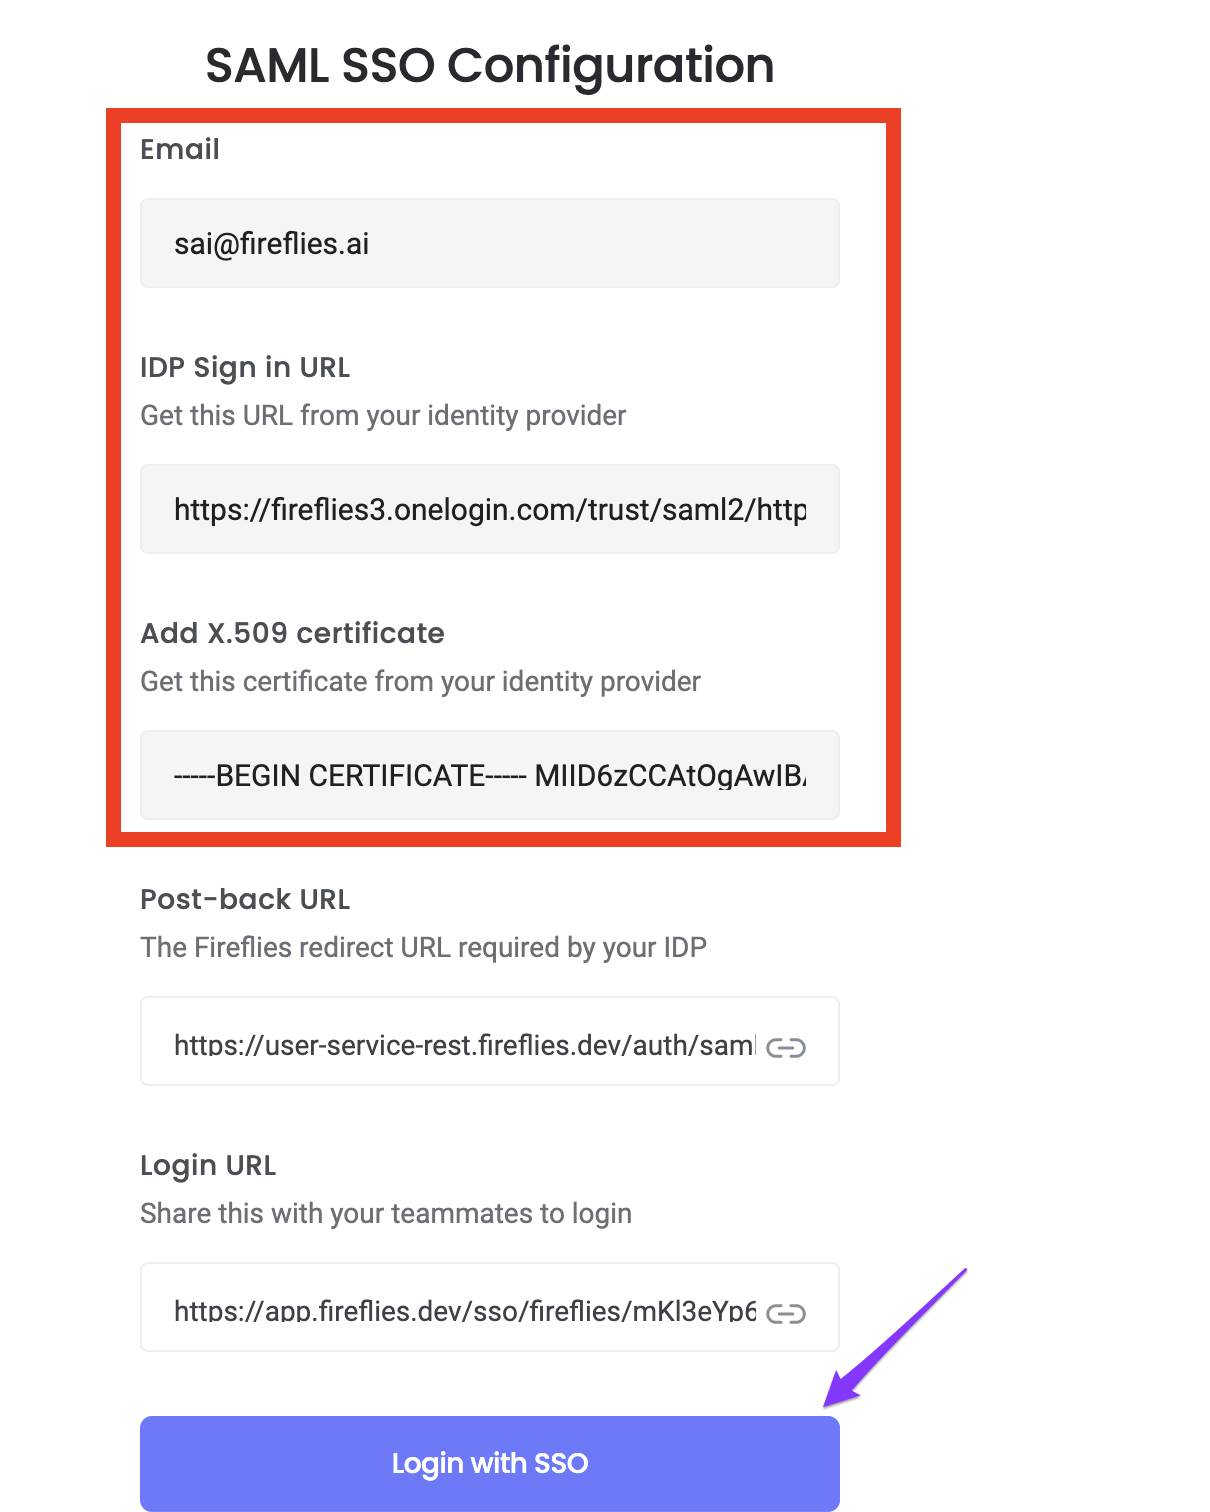
Step 6: Configure Fireflies SSO
Open the SSO configuration link received in your email.
Paste the SSO Entry Point URL (found inside your metadata file) into the IDP Sign-in URL field.
⚠ Do not paste the metadata link itself. This is a common mistake that causes login or redirect issues.
You’ll find the correct Entry Point in the metadata XML file under the tag:
<SingleSignOnService Location="https://your-sso-entry-point.com" ... />.png")
Paste the X.509 Certificate in the Add X.509 Certificate field.
After saving this configuration in Okta, you can enter the Login with SSO button.
Share the unique login URL with your teammates. They must use this URL to access Fireflies.
📌Enforced SSO Redirect Behavior
When SSO is enforced on your domain:
Users will be automatically redirected to your organization's SSO login link when they attempt to log in via Google or Microsoft OAuth.
This happens after the OAuth authentication succeeds—at which point Fireflies checks if your domain has an enforced SSO configuration and triggers the redirect.
Avoid this behavior
If your users don't want automatic redirects, have them use your unique SSO login link instead of the generic Google or Microsoft login options.
Important Notes
Only users with the correct permissions can configure SSO.
The SSO configuration link is only available via the setup email and must be accessed from there.
If you encounter issues, verify that your domain is properly set up and that you have followed all steps from your email instructions.